Step 1
Students will feel for their heartbeat by placing a hand on their chest:
- Students can use words and/or actions to describe the rhythm (e.g., squeeze hand open and shut, words lub-dub, tap desk, etc.).
- Students measure their resting heart rates.
- Time permitting, students can run on spot and then re-measure their heart rates.
Discuss factors that affect their heart rates and the heart rates of astronauts using probing questions such as:
- What causes the sound of a heartbeat?
- Why does blood need to be circulated throughout the body?
- Why is heart rate used to monitor individuals’ health?
- How might stress affect your heart rate?
- How might exercise affect your heart rate?
- How might your fitness level affect your heart rate at rest?
- Why would the ISS be monitoring their astronauts’ heart rates?
- Under what circumstances might an astronaut’s heart rate be higher or lower than normal?
- How might being launched in a rocket affect an astronaut’s heart rate?
Step 2
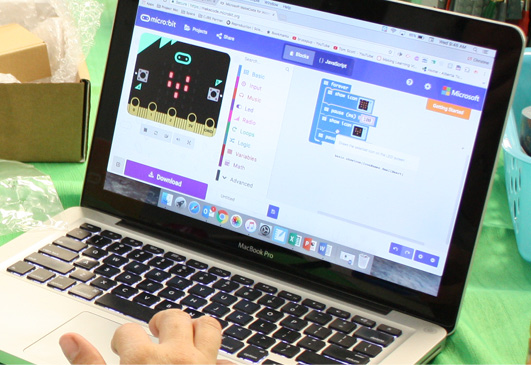
Students will now learn how to code a heartbeat simulation using MakeCode and a micro:bit.
In this activity, you will code a heartbeat simulation using MakeCode and a micro:bit.
- Go to http://makecode.microbit.org/ or open the micro:bit app.
Instructions for this coding activity are in the video, guided material, and chart below.
Instructions
Once on http://makecode.microbit.org/ click on the New Project button under the heading My Projects.

You will see two blocks in the working area when you start a new project.
Delete the on start block. You can do this by right-clicking and choosing the Delete Block option or by dragging the block to the left over the menu where a trashcan will appear.

Under Basic, click and drag a show icon block inside of the forever block.
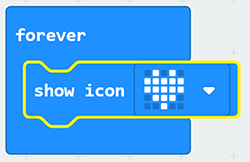
The show icon block defaults to an image of a big heart. If you click on the small downward arrow beside the heart, you will see all of the pre-made icons you can use.
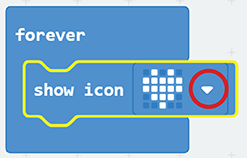
Select the small heart (top row).
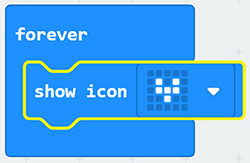
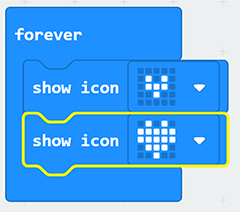
Under Basic, click and drag another show icon block beneath the first show icon block. It already has the big heart, which is what you want.
You should now see on the simulator micro:bit that the image switches between the little heart and the big heart.
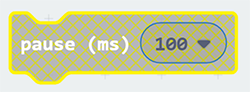
To make this more like a real heartbeat, you can incorporate pause blocks. Under Basic, select a pause block. You will notice that the block looks different than the others.
Tip
A block will be “grayed out” until you place it in such a way that it can function.
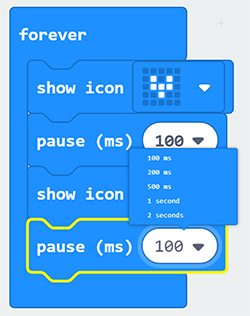
Place a pause block after each heart icon. This will cause the hearts to remain displayed for a specific amount of time measured in milliseconds (ms). The default time is set to 100 ms.
Think about the sound of a heart beat (lub dub) and adjust the pause block values by clicking on each number. You can choose a value from the dropdown menu, or type in your own value.
Did you know?
1000 milliseconds = 1 second
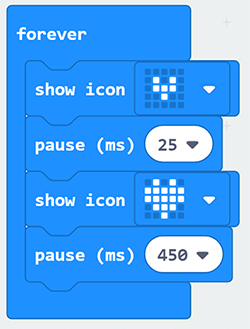
Your final simulation should look something like this.
You can stop here if you do not have the physical micro:bits in your classroom.
Step 3
Upload code to micro:bit. Review how to safely use the micro:bit before instructing students to upload code to the micro:bit.
Instructions for saving and uploading your Makecode to a micro:bit are available on the Getting Started page.