SunPrint Paper
Create a beautiful piece of artwork using the power of the sun!
What You Need
Materials per student
- Sheet of SunPrint paper.
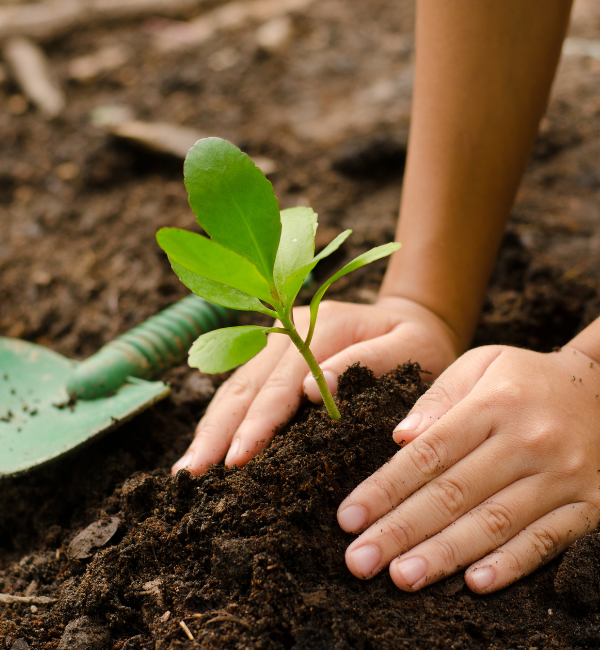
- A few small items like a leaf, pine needles, flower (only pick flowers you know are safe to pick) or some things from inside.
- A pan or container with enough water to cover the SunPrint paper.
- Something to hold your paper or the items down if they are very light.
Guide:
Safety Notes
Ensure you are familiar with Let's Talk Science's precautions with respect to safe virtual outreach to youth.
What To Do
- In an area that is not in the sun, instruct students to take the SunPrint paper out of the envelope and put it blue side up.
- Give students time to arrange their objects on top of the paper.
- Move the SunPrint paper with the objects to a sunny place outside (but not on a windy day). Tell students to quickly fix items that moved once in the sun.
- They will leave the SunPrint paper with the objects on it in the sun for 2-3 minutes (or longer if they are placed inside a sunny window). The paper should turn from blue to very light blue.
- After 2-3 minutes, have students remove the objects and place their SunPrint paper(s) in the container of water for around 1 minute. Be sure the paper is covered by the water.
- Remove the paper from the water and let it dry. They will have a beautiful piece of science artwork!
Discovery
There is a chemical in the SunPrint paper that changes colour (from blue to very light blue) when ultraviolet (UV) light from the sun shines on it. When objects are placed on the paper, some of the light is blocked by the object and makes a darker print. The water stops the chemical reaction and makes the print stay on the paper. As the paper dries, the print becomes darker.
- Set up an experiment by cutting the SunPrint paper in half. Follow the same steps as above, except have students place one piece in the sun and the other in the shade. What happens?
- Have students place different types of objects on the paper. Some objects let light through while others will not. This will create different patterns!
- Provide students with some resources (botany books, magazines, info sheets, etc.) to help them try to identify the types plants in their artwork. If desired, have them label each object with its scientific name.
What's Happening?
There is a chemical in the SunPrint paper that changes colour (from blue to very light blue) when ultraviolet (UV) light from the sun shines on it. When objects are placed on the paper, some of the light is blocked by the object and makes a darker print. The water stops the chemical reaction and makes the print stay on the paper. As the paper dries, the print becomes darker.
Investigate Further
- Set up an experiment by cutting the SunPrint paper in half. Follow the same steps as above, except have students place one piece in the sun and the other in the shade. What happens?
- Have students place different types of objects on the paper. Some objects let light through while others will not. This will create different patterns!
- Provide students with some resources (botany books, magazines, info sheets, etc.) to help them try to identify the types plants in their artwork. If desired, have them label each object with its scientific name.