Design Thinking
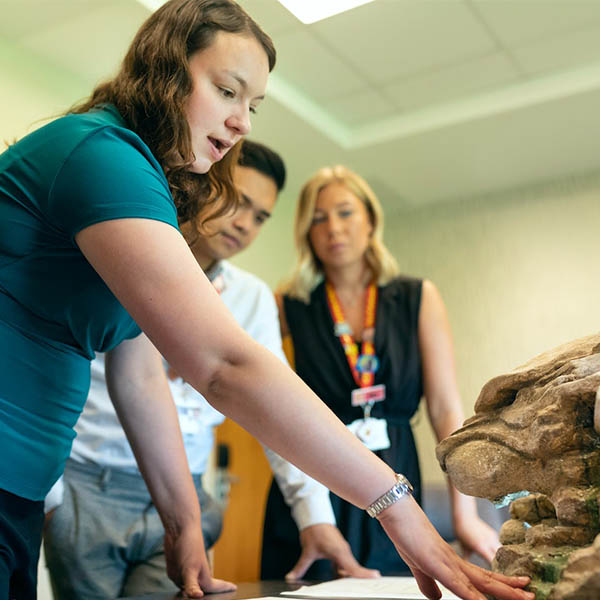
Student presenting prototype (ThisIsEngineering, Pexels)
Learn about the Design Thinking process and how it can be used with students.
The world we live in is rapidly changing and in order to succeed, children and youth will need to be curious, adaptable and flexible. The Design Thinking process provides an opportunity for students to practice these skills.
What is Design Thinking?
Design Thinking is an approach to problem-solving that differs from the technological problem-solving seen in Design & Build Process, in that it is rooted in empathy. It is a non-linear, iterative approach in which children and youth collaborate to identify problems, respond to new challenges and develop creative and innovative solutions to problems.
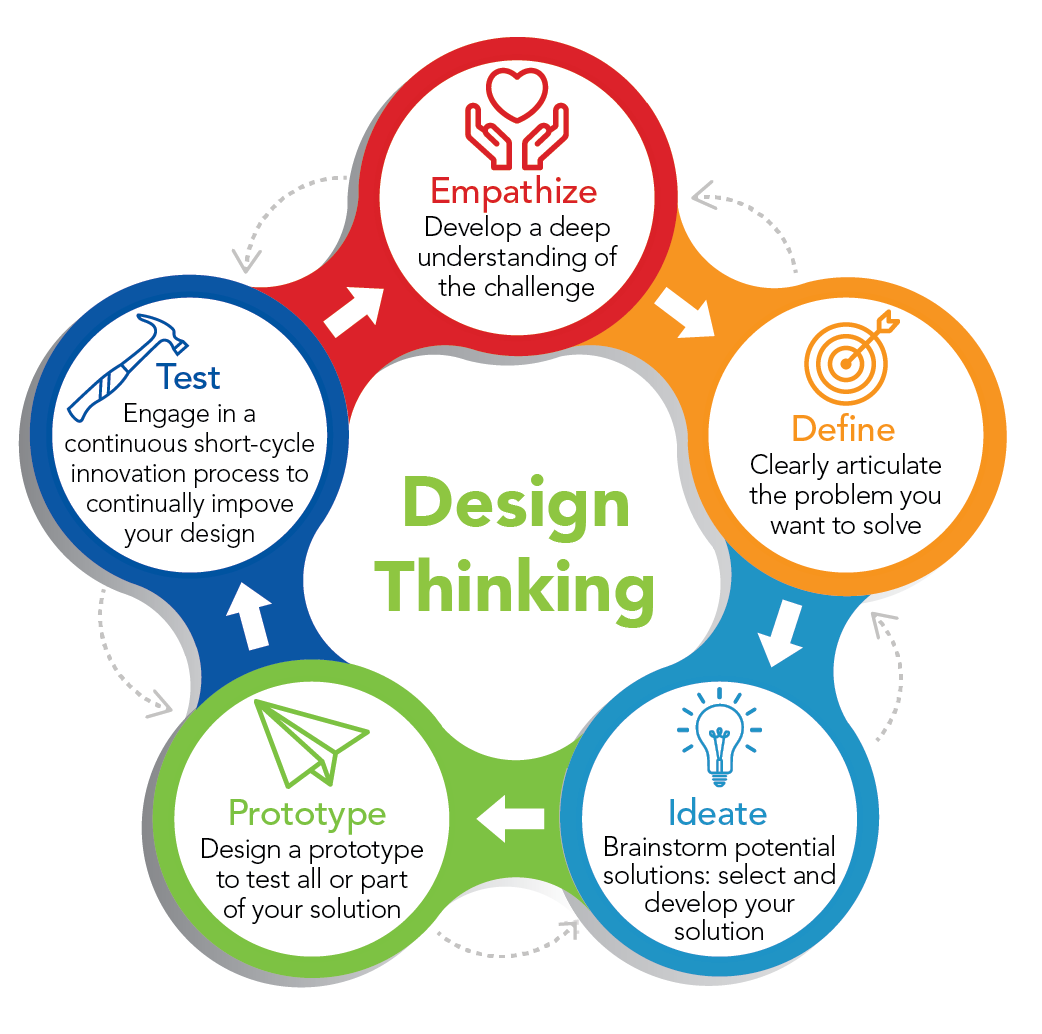
Image - Text Version
Shown is a colour illustration of the stages of Design Thinking, in a continuous circle.
Each stage is described with text and a small line drawing in a different coloured circle. These circles are linked together into a circle with arrows moving clockwise, continuously.
Starting at the top, the first stage is labelled "Empathize," in a red circle. The text reads. "Develop a deep understanding of the challenge". The illustration is a pair of hands holding up a heart shape.
Moving clockwise, the second stage is labelled "Define," in an orange circle. The text reads, "Clearly articulate the problem you want to solve." The illustration is a target with an arrow in the bullseye.
The third stage is labelled "Ideate," in a light blue circle.The text reads "Brainstorm potential solutions: select and develop your solution." The illustration is an illuminated light bulb.
The fourth stage is labelled "Prototype," in a green circle. The text reads, "Design a prototype to test all or part of your solution." The illustration is a paper airplane.
The fifth stage is labelled "Test," in a dark blue circle. The text reads "Engage in a short-cycle innovation process to continually improve your design." The illustration is a hammer.
The Design Thinking approach to problem-solving focuses on collaboration between the student designers and the users they are designing for. The emphasis is on bringing ideas to life based on how the users feel, think and behave. This is another way in which this approach differs from Technological Problem-Solving.
Did you know?
The United Nations Sustainable Development Goals are a great place to start when students are looking for real world problems to solve!
When considering whether to use the Design or Build Process or the Design Thinking process the following chart may be useful:
| Design and Build | Design Thinking |
|---|---|
|
|
The Design Thinking Process

Empathetic design provides students the opportunity to communicate and collaborate while considering the needs of others.
The Empathize phase of the design thinking process is when students develop a deep understanding of the needs of their end users or target audience. They can do this by conducting interviews and making observations about user behaviours. The goal is to understand the specific problems or struggles of people for whom a solution is being designed, to ensure the solution aligns with their needs, emotions and behaviours.
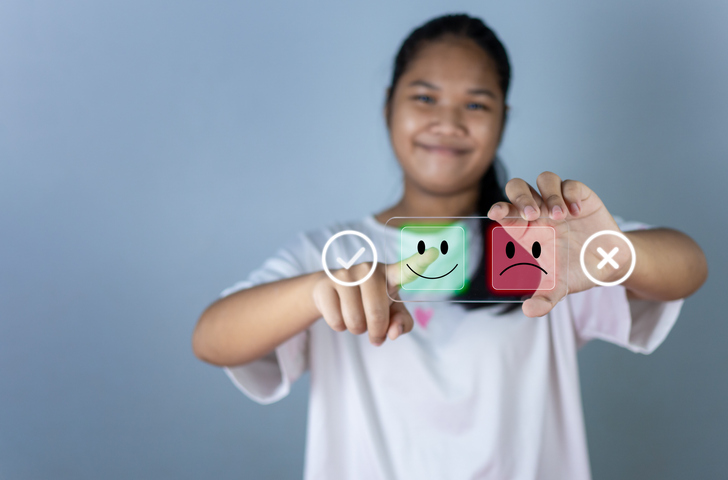
Image - Text Version
Shown is a colour photograph of a young person touching a happy face icon on a clear tablet.
The student is out of focus behind the large translucent tablet they are holding in their left hand. They are using the first finger in their right hand to touch a green, square happy face icon. The other icon is a red sad face.
The student smiling. They have light brown skin and long black hair in a ponytail, and they are wearing a white t-shirt.
Did you know?
Design Thinking is often human-centred. However, as we become increasingly aware of the interconnectivity between humans and the natural world, it is important for designers to consider the impacts their design will have on the environment, including non-human entities, such as wildlife.

The Define phase of the design thinking process is when student design thinkers analyse the ideas and information gathered during the Empathize phase to come up with a meaningful, actionable problem statement.
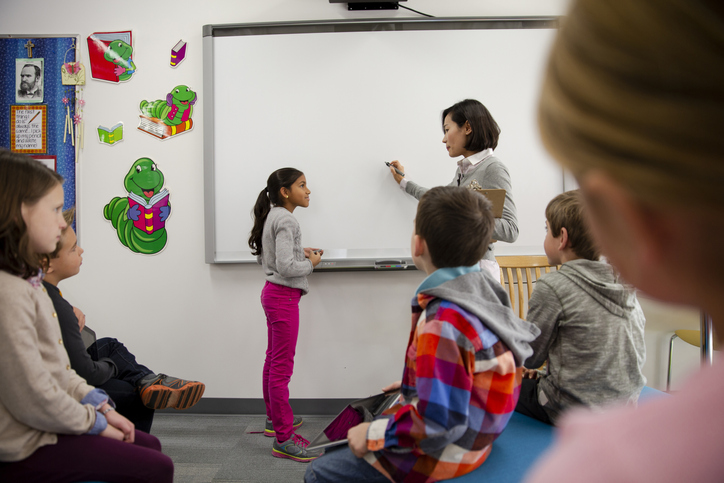
Image - Text Version
Shown is a colour photograph of students and a teacher in a classroom.
A teacher is writing on a whiteboard while speaking to a student standing next to them. No text is visible on the whiteboard. In the foreground, five other students are sitting in a half-circle, facing the board. The walls around the board are decorated with pictures of caterpillars, reading books.
Example problem statements:
- Seniors need a way to feel connected to family or community groups because they spend a large amount of time alone and can feel isolated.
- We need to reduce plastic pollution because oceans, waterways and aquatic life are being threatened by plastic pollution.

The Ideate phase of the Design Thinking process is when student designers use creativity and free thinking to generate a large number of ideas for possible solutions to the problem they are tackling.
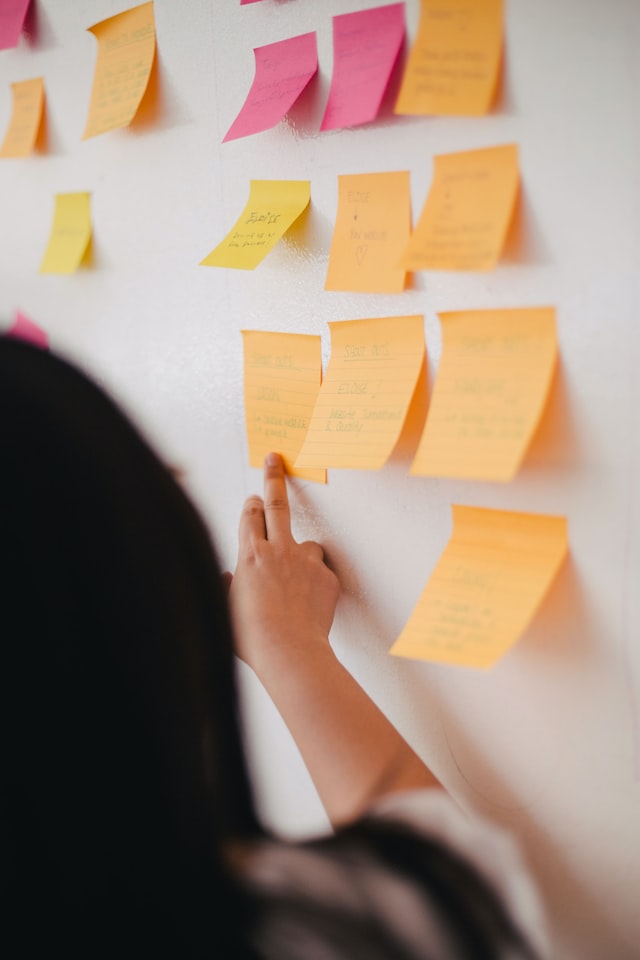
Image - Text Version
Shown is a person reading a sticky note on a whiteboard.
The person's head and shoulder are out of focus in the foreground at the bottom left of the image. They have long black hair, pale skin, and are wearing a black and white top. They are reaching forward with their right hand, touching an orange sticky note with two fingers. The rest of the board is covered with pink, orange and yellow sticky notes, arranged in a grid.

The Prototyping phase of the design thinking process is when the ideas in students’ heads come into the world. At this phase, they take their ideas and put them into a form that can be shared with others.
We usually think of a prototype as a physical model, but it can also be a sketch, diagram, storyboard, a role play or a virtual model, to name a few. Some examples of platforms that can be used to create prototypes are programmable devices, Scratch™, Tinkercad™, and text coding language for website development.

Image - Text Version
Shown is a colour photograph of two children making a turbine with a plastic water bottle.
The children are sitting behind a table. The child on the left is holding the base of a clear bottle, half filled with water. The other child is looking on and reaching towards the bottle. The bottle cap has been replaced with a clear plastic cylinder. A turbine with six green blades is attached to the front of the cylinder, and a green, square tail is attached to the back.
By working through this phase, student designers will have a better idea of how the end users will feel, think and behave when they interact with the final solution/product. An adapted version of the learning strategy Think Discuss Decide may be helpful for students trying to choose which prototype is the most suitable.

The Test phase of the design thinking process is when student designers test the best solution(s) identified during the Prototype phase. Ideally, student designers would have the opportunity to observe the end user(s) engaging with their prototype. If possible, they should put the prototype into the hands of the user. Students can then observe how the user interacts with the prototype and record questions they have about it. Preferably, testing would occur within the context of the user’s life. If this isn’t possible, the student designers should create a scenario that mimics a real life experience. If more than one prototype has been created, they could allow users to test them all and compare them.
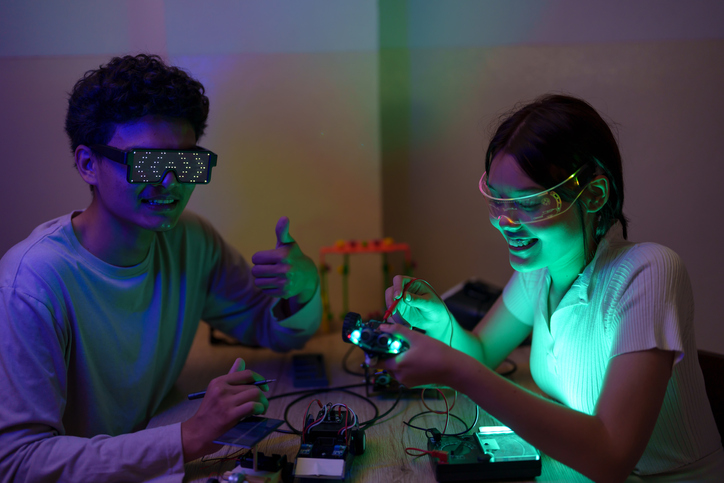
Image - Text Version
Shown is a colour photograph of a student wearing goggles, and another with an electronic circuit board.
The students are sitting around a wooden table in a darkened room. Both are smiling excitedly.
The student on the left is wearing large black goggles. the eyepieces are covered with LED lights in a chevron pattern. This student is giving the thumbs-up sign with their left hand.
The student on the right is using a small tool on an object in their left hand. Thew object has two bright lights and is connected by several wires to a circuit board on the table below.
Due to the non-linear nature of the Design Thinking process, students will find themselves revisiting various phases as they acquire new information and make adjustments.
References
Compass (March 25, 2019). Stage 4 In The Design Thinking Process: Prototype.
Dam, R.F. and T. Y. Siang. (June 2022). The 5 Stages in the Design Thinking Process. Interaction Design Foundation.
DeVos, J. (n.d.) Design Problem Statements - What They Are and How to Frame Them. Toptal.
Let's Talk Science (Oct 25, 2019). The Design & Build Process.
Luka, I. (2014). Design Thinking In Pedagogy. Journal of Education Culture and Society 2: 63-74
Pashia, M. (Dec 17, 2019). Market Your School With Design Thinking: Testing Makes Perfect. Getting Smart.
Pashia, M. (Dec 7, 2019). Market Your School With Design Thinking: Troubleshooting Ideas With Prototyping. Getting Smart.