Design & Build a Seed Saver
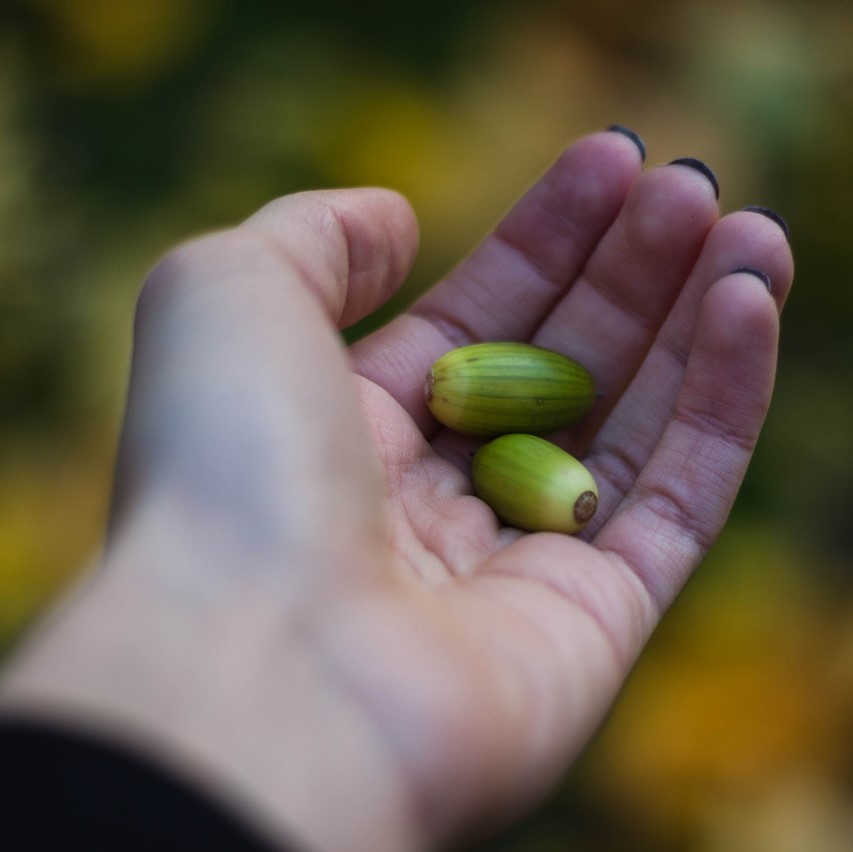
Hand holding oak tree seeds (Valeria Boltneva, Pexels)

Hand holding oak tree seeds (Valeria Boltneva, Pexels)
How does this align with my curriculum?
| Grade | Course | Topic |
|---|
Students will work collaboratively to design and build a structure that will protect a seed from the elements.
Overview
Students work collaboratively to create a prototype of a seed-saving device that can keep various sizes of seeds organized and safe for a specific period of time.
Timing
30-45 minutes
Setting the Stage
Prior Skills and Knowledge
To successfully participate in this Design & Build, students should:
- be able to use basic cutting tools (e.g., scissors) and fasteners (e.g, various types of tape and glue) for construction.
- have an understanding of the function of various parts of a plant, in particular the role of seeds.
It is highly recommended that students conduct the Seed Dispersal lesson prior to doing this Design & Build challenge.
Context
Tucked away on a remote island in Norway’s Svalbard archipelago, the Svalbard Global Seed Vault is designed to store some of the world's most important seeds in the event that all of the Earth’s crops are wiped out. The Seed Vault, which is located halfway between mainland Norway and the North Pole, is also able to maintain a chilly temperature of -18 ºC.
It is critical that students are able to work collaboratively throughout the design and build process. Educators can foster this skill by helping students to see what they do well and the strengths that other students bring to the group. A collaborative group works well when it builds on the strengths of each of its members.
In this Design & Build challenge, students will work collaboratively to create a prototype of a seed-saving device that can keep various sizes of seeds organized and safe (dry, cool, etc.) for a specific period of time (e.g., from a collection of seeds to planting the following spring).
This design and build could begin from:
- questions and/or comments from students about how people keep different things safe. Discuss using questions such as:
- “What are some things that we need to protect and keep safe?” (e.g., food, money, family photos, our glasses or contact lenses, babies and young children)
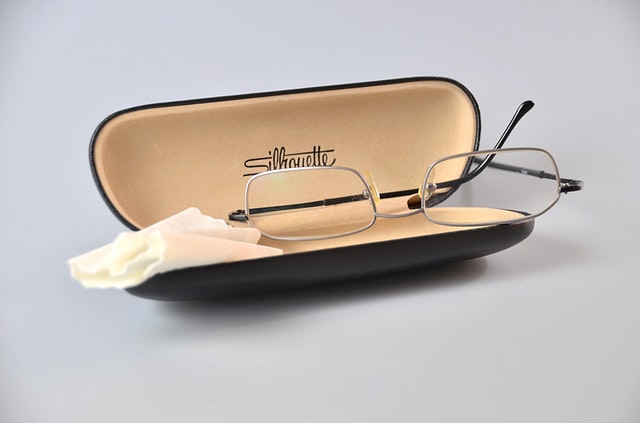
- “What are ways in which we protect/keep things safe?” (e.g., we store perishable food in the fridge, money in a bank, glasses in a case, baby gates by stairs)
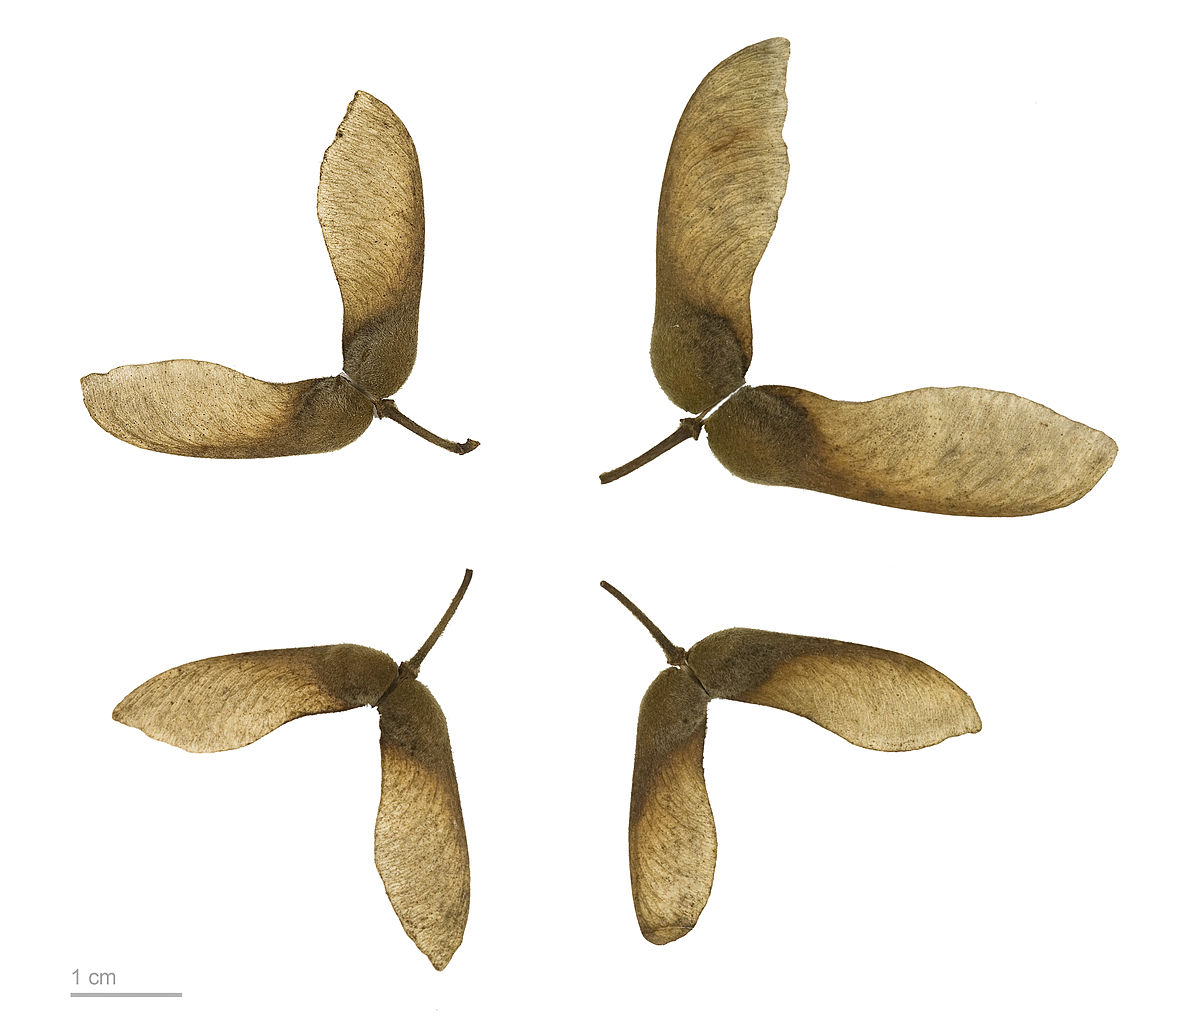
- exploring a variety of seeds. Discuss using questions such as:
- “What do all of these things have in common?”
- “Where do seeds come from?”
- “Why are seeds important?”
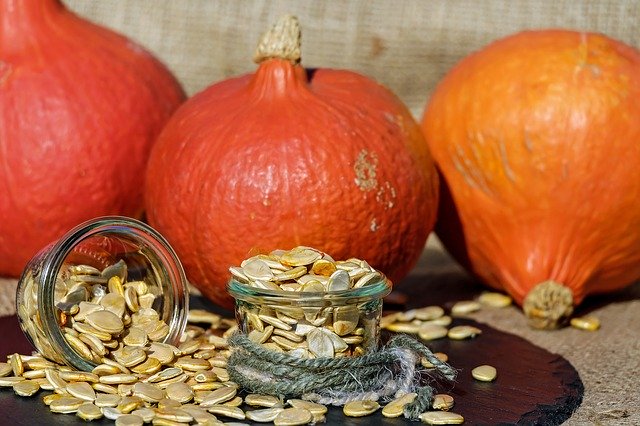
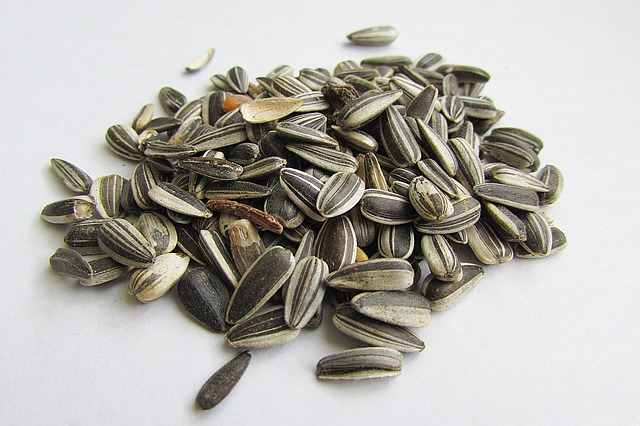
- “People eat many parts of plants including seeds. What are seeds that people eat? What is your favourite seed to eat?”
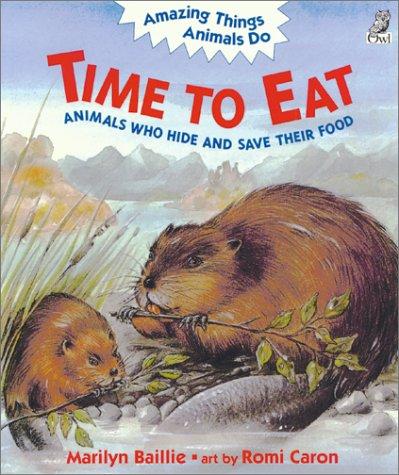
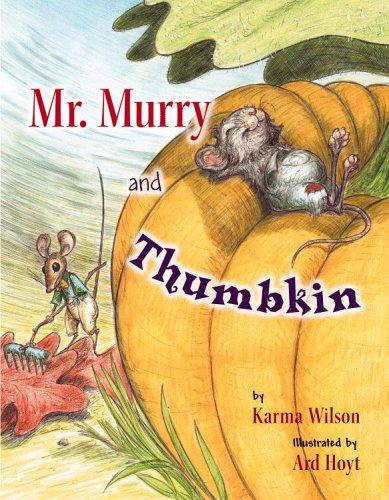
- Reading a book such as Time to Eat: Animals Who Hide and Save Their Food by Marilyn Baillie or Mr. Murray and Thumbkin by Karma Wilson
- Discuss using questions such as:
- “Why do animals like squirrels hide nuts?”
- “What other animals did we see in the book that hide food such as seeds and nuts?"
Design Criteria
As a class, students brainstorm criteria that their prototype seed savers must meet. Educators may choose to add other criteria that are curriculum-specific, such as using joiners/fasteners, using specific measurements, sorting & classifying, using specific materials, etc.
Design criteria examples:
- Seed saver must be a closed container
- The seed saver must be able to store at least five different sizes of seeds
- Seeds inside the seed saver must be sorted and kept apart from each other (cannot get mixed together)
- The seed saver must keep the seeds dry
- The seed saver must protect the seeds from predators
- You must use at least four different materials and three different fasteners
Details
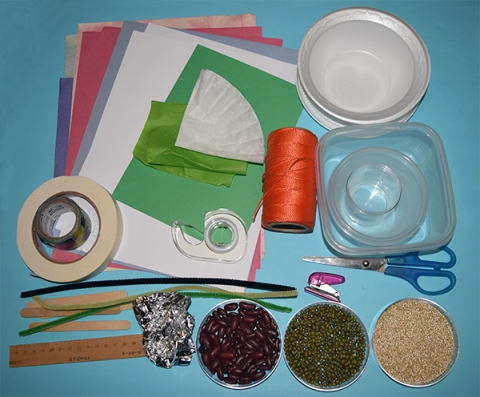
- New or recycled craft materials such as construction paper, craft foam, tissue paper Styrofoam, aluminum foil, string, yarn, fabric, ribbon, pipe cleaners, craft sticks, buttons, etc.
- New or recycled containers such as paper plates, Styrofoam plates or bowls, etc.
- Construction tools such as scissors, rulers, tape, glue, etc.
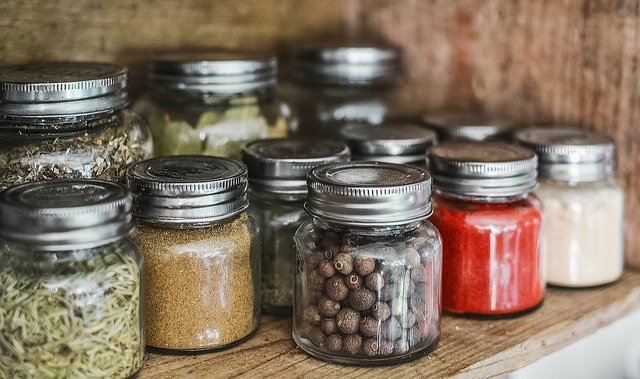
- Seeds, in a variety of shapes and sizes
- Collect an assortment of recycled and new materials that students will use to construct the prototype seed savers. The materials list above is only a suggested list.
- Set up material sourcing stations, organized by type of material. Alternatively, organize an assortment of materials to be provided.
Students develop Design & Build skills as they design, build and test a prototype seed saver that can keep various sizes of seeds organized and safe for x months (e.g., for planting the following year).
Students will follow the steps of the Design & Build process:
- identify the problem to be solved/need to be met
- brainstorm criteria that the prototype must meet
- share their questions and ideas for a solution to the problem/need
- discuss the advantages and disadvantages of each in order to select a potential solution to test
- visualize what the solution might look like and make design sketches based on their visualizations
- develop a design plan (e.g., identify the tasks or key steps involved in developing the solution, make decisions about tools and materials that will be needed, including labelled sketches)
- build/develop the design idea based on the design plan
- test their prototypes based on the design criteria
- modify the prototype and retest it against the design criteria as necessary
- reflect on their results and identify things that could be done to improve their prototypes
Observe and document, using anecdotal comments, photos and/or video recordings, students’ ability to:
- Work Collaboratively – students work collaboratively to complete a task and evaluate their group processes throughout the Design & Build process
- Generate Ideas – students use idea generation skills and strategies, such as brainstorming, to identify possible solutions as well as make decisions about the pros and cons of each solution
- Communicate – students communicate their thinking and learning in words, sketches, photos, videos, etc. (e.g., in identifying the problem, in design plans that include 2D design sketches and key design steps/tasks, in lists of materials/equipment/tools)
- Work Safely – students demonstrate safe practices when using a variety of tools and materials while prototyping
- Test – students use skills of observing and recording data as they test their prototypes
- Reflect – students reflect on the results of their prototype testing and suggest things that they might do differently to improve their prototypes
| Students: Saying, Doing, Representing |
Educator: Interactions: Responding, Challenging |
|---|---|
| Students identify and refine the problem to be solved/need to be met. |
|
| Students brainstorm and record criteria for the seed saver. |
|
| Students visualize what the solution might look like and make design sketches based on their visualizations. |
|
| Students develop a design plan (e.g., steps in creating a prototype, decisions about tools and materials). |
|
| Students build/develop and test the design idea based on their sketches and design plan (create the prototype). |
|
| Students modify the prototype and retest it against the design criteria as necessary. |
|
| Students reflect on the results of their testing and identify things that could be done differently in the future. |
|
Literacy
- Ask questions (e.g. "What would be a good way to organize seeds?" "What materials are good for keeping things dry?")
- Communicate thoughts, feelings and ideas (e.g. brainstorm criteria for the seed saver)
Mathematical Thinking
- Sort and classify (e.g., sort seeds in different ways relevant to designing a seed saver)
- Compare and contrast (e.g., look for similarities and differences in seeds to be saved)
- Put objects in order (e.g., order seeds from smallest to largest)
Visual Arts
- Sketch, represent, and model (e.g., make design sketches of the seed saver, build a prototype model from the sketches)
If your students are interested in learning more, the following may provoke their curiosity:
- Provide students with opportunities to collect seeds from the local environment. Discuss how they can determine the types of seeds they found. How are the seeds similar and different? Why might this be so? Which types of seeds are most/least common? Where did students determine were the best places to find seeds? Why would this be?
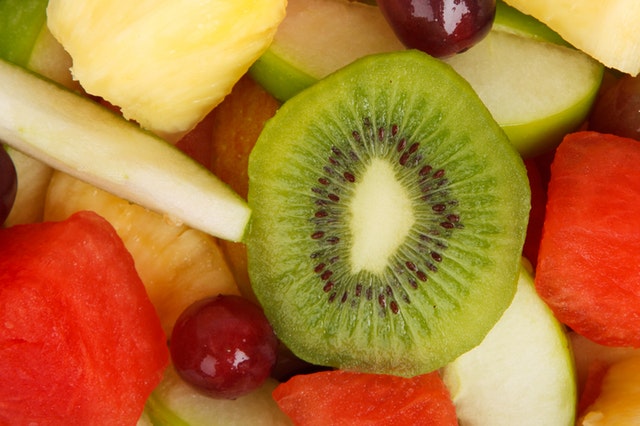
- Provide students with opportunities to locate and collect seeds from fruit that they bring to school (apples, oranges, bananas, kiwis, etc.). How easy/difficult is it to find the seeds? Provide opportunities for students to plant the seeds and track the results.
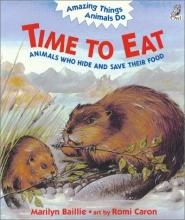
Time to Eat: Animals Who Hide and Save Their Food
by Marilyn Baillie
Animals all over the world hide and save their food in amazing ways.
ISBN: 1895688302
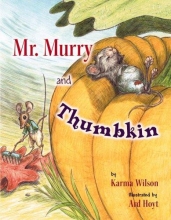
Mr. Murray and Thumbkin
By Karma Wilson
While fastidious Mr. Murry mouse scurries around preparing his home for winter, his easygoing new neighbor Thumbkin mouse enjoys lazing around in the sun and munching on fat pumpkin seeds. Oh, how this makes Mr. Murry worry! Ultimately, he opens up his heart and home to lazy Thumbkin and saves him from the chill and loneliness of winter.
ISBN: 0316076139
Seed Dispersal (Lesson)
Students develop and apply observing, comparing & contrasting, and sorting & classifying skills to investigate how seeds move from place to place.
Design & Build a Seed Sorter (Lesson)
Students work collaboratively to design and build a device that is able to sort seeds by size.
Tomatosphere™ (Website)
How does outer space affect plants and seeds? Join Tomatosphere™, a free program where Kindergarten to Grade 12 students use "space" tomato seeds to learn about plants in space, right here on Earth. Tomatosphere™ engages students in real scientific processes that teach and reinforce inquiry skills while they explore concepts related to plants, space, careers, nutrition and agriculture.
Materials
- New or recycled craft materials such as construction paper, craft foam, tissue paper Styrofoam, aluminum foil, string, yarn, fabric, ribbon, pipe cleaners, craft sticks, buttons, etc.
- New or recycled containers such as paper plates, Styrofoam plates or bowls, etc.
- Construction tools such as scissors, rulers, tape, glue, etc.
- Seeds, in a variety of shapes and sizes
Preparation
- Collect an assortment of recycled and new materials that students will use to construct the prototype seed savers. The materials list above is only a suggested list.
- Set up material sourcing stations, organized by type of material. Alternatively, organize an assortment of materials to be provided.

What to Do
Students develop Design & Build skills as they design, build and test a prototype seed saver that can keep various sizes of seeds organized and safe for x months (e.g., for planting the following year).
Students will follow the steps of the Design & Build process:
- identify the problem to be solved/need to be met
- brainstorm criteria that the prototype must meet
- share their questions and ideas for a solution to the problem/need
- discuss the advantages and disadvantages of each in order to select a potential solution to test
- visualize what the solution might look like and make design sketches based on their visualizations
- develop a design plan (e.g., identify the tasks or key steps involved in developing the solution, make decisions about tools and materials that will be needed, including labelled sketches)
- build/develop the design idea based on the design plan
- test their prototypes based on the design criteria
- modify the prototype and retest it against the design criteria as necessary
- reflect on their results and identify things that could be done to improve their prototypes

Assessment
Observe and document, using anecdotal comments, photos and/or video recordings, students’ ability to:
- Work Collaboratively – students work collaboratively to complete a task and evaluate their group processes throughout the Design & Build process
- Generate Ideas – students use idea generation skills and strategies, such as brainstorming, to identify possible solutions as well as make decisions about the pros and cons of each solution
- Communicate – students communicate their thinking and learning in words, sketches, photos, videos, etc. (e.g., in identifying the problem, in design plans that include 2D design sketches and key design steps/tasks, in lists of materials/equipment/tools)
- Work Safely – students demonstrate safe practices when using a variety of tools and materials while prototyping
- Test – students use skills of observing and recording data as they test their prototypes
- Reflect – students reflect on the results of their prototype testing and suggest things that they might do differently to improve their prototypes
Co-constructed Learning
| Students: Saying, Doing, Representing |
Educator: Interactions: Responding, Challenging |
|---|---|
| Students identify and refine the problem to be solved/need to be met. |
|
| Students brainstorm and record criteria for the seed saver. |
|
| Students visualize what the solution might look like and make design sketches based on their visualizations. |
|
| Students develop a design plan (e.g., steps in creating a prototype, decisions about tools and materials). |
|
| Students build/develop and test the design idea based on their sketches and design plan (create the prototype). |
|
| Students modify the prototype and retest it against the design criteria as necessary. |
|
| Students reflect on the results of their testing and identify things that could be done differently in the future. |
|
Cross-curricular Connections
Literacy
- Ask questions (e.g. "What would be a good way to organize seeds?" "What materials are good for keeping things dry?")
- Communicate thoughts, feelings and ideas (e.g. brainstorm criteria for the seed saver)
Mathematical Thinking
- Sort and classify (e.g., sort seeds in different ways relevant to designing a seed saver)
- Compare and contrast (e.g., look for similarities and differences in seeds to be saved)
- Put objects in order (e.g., order seeds from smallest to largest)
Visual Arts
- Sketch, represent, and model (e.g., make design sketches of the seed saver, build a prototype model from the sketches)
Extending the Learning
If your students are interested in learning more, the following may provoke their curiosity:
- Provide students with opportunities to collect seeds from the local environment. Discuss how they can determine the types of seeds they found. How are the seeds similar and different? Why might this be so? Which types of seeds are most/least common? Where did students determine were the best places to find seeds? Why would this be?
- Provide students with opportunities to locate and collect seeds from fruit that they bring to school (apples, oranges, bananas, kiwis, etc.). How easy/difficult is it to find the seeds? Provide opportunities for students to plant the seeds and track the results.


Supporting Media

Time to Eat: Animals Who Hide and Save Their Food
by Marilyn Baillie
Animals all over the world hide and save their food in amazing ways.
ISBN: 1895688302

Mr. Murray and Thumbkin
By Karma Wilson
While fastidious Mr. Murry mouse scurries around preparing his home for winter, his easygoing new neighbor Thumbkin mouse enjoys lazing around in the sun and munching on fat pumpkin seeds. Oh, how this makes Mr. Murry worry! Ultimately, he opens up his heart and home to lazy Thumbkin and saves him from the chill and loneliness of winter.
ISBN: 0316076139
Seed Dispersal (Lesson)
Students develop and apply observing, comparing & contrasting, and sorting & classifying skills to investigate how seeds move from place to place.
Learn More
Design & Build a Seed Sorter (Lesson)
Students work collaboratively to design and build a device that is able to sort seeds by size.
Tomatosphere™ (Website)
How does outer space affect plants and seeds? Join Tomatosphere™, a free program where Kindergarten to Grade 12 students use "space" tomato seeds to learn about plants in space, right here on Earth. Tomatosphere™ engages students in real scientific processes that teach and reinforce inquiry skills while they explore concepts related to plants, space, careers, nutrition and agriculture.
