Prototyping
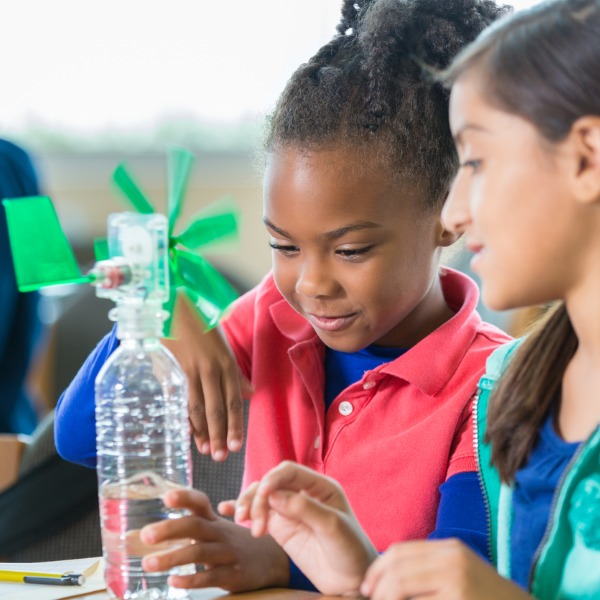
Students testing a prototype (SDI Productions, iStockphoto)
Students testing a prototype (SDI Productions, iStockphoto)
How does this align with my curriculum?
A prototype is a working model that is used to test a design solution and is typically what is built or created during a student “Design & Build” challenge.
Definition
A prototype is a working model that is used to test a design solution and is typically what is built or created during a student Design & Build challenge. In real life, prototypes help to determine the effectiveness of design solutions before the final product or system is produced. With students, the prototype may be the final solution itself (a functional prototype). The skill of prototyping involves many sub-skills depending on the type of product or system that is created (physical product, computer code, etc.).
Prototyping is important because it…
- requires students to use logical thinking skills as they create a design plan for their prototype
- provides opportunities for students to gain experience with the proper use of tools, equipment and materials
- provides opportunities for students to learn to be flexible (e.g. what do to when things do not work as planned)
- provides opportunities for students to develop fine motor skills (e.g., cutting, shaping, combining)
- often requires group processes, such as working cooperatively
- provides opportunities for students to self-assess their work using criteria established by the class
Teaching and Learning Prototyping
Students |
Educators |
|---|---|
|
Build (or develop) the design idea |
Work with individual students during the building/development of their design solutions, as necessary. Encourage students to follow their design plans and refer to their design sketches (e.g., “Your design sketch shows that the marble run will have two loops. Now that you have made one loop, how will you make the other one?”). Students may make changes as they are building which should be reflected on their design sketches |
|
Demonstrate safe use of tools/equipment to measure, mark, cut, shape, combine and assemble materials (e.g., know which protective gear to use when using specific tools/ equipment such as wearing safety goggles when cutting or drilling wood, showing care and concern for their safety and that of others) |
Provide instruction in proper use and handling of tools, including those that enhance their ability to observe, such as magnifying lenses, thermometers, etc. Explain reasons behind required safety expectations: behavior standards when working with equipment and tools should be explicit and consistent. Ensure tools and equipment are safe – dull hand saws and scissors are more dangerous than ones that are sharp enough to allow them to do the job they want to do, even for young children. |
|
Test the prototype based on the design criteria/requirements/constraints (e.g., “Our scissor container holds all of the scissors. We asked other students if they liked it and they did. We are thinking about how to create a container for the markers.”) |
Encourage students to refer back to the design criteria/requirements/constraints when they test their designs (e.g., “How have you ensured that your marble run meets the criteria?” Will your boat be able to hold six objects and float without assistance on water for 10 minutes?”). Work with students to set up test areas where each prototype can be tested in a fair manner (e.g., set up a container where water of a sufficient depth can be available for testing boats). |
|
Record relevant data about prototype testing including observations and measurements and uses this information to revise the prototype |
Encourage students to record what happens during testing. This may be in the form of videos, written journals, charts, etc. Recording what happens is important, especially if the first attempt at a design solution is not successful. |
Related Skills