Design & Build a Toy that Moves
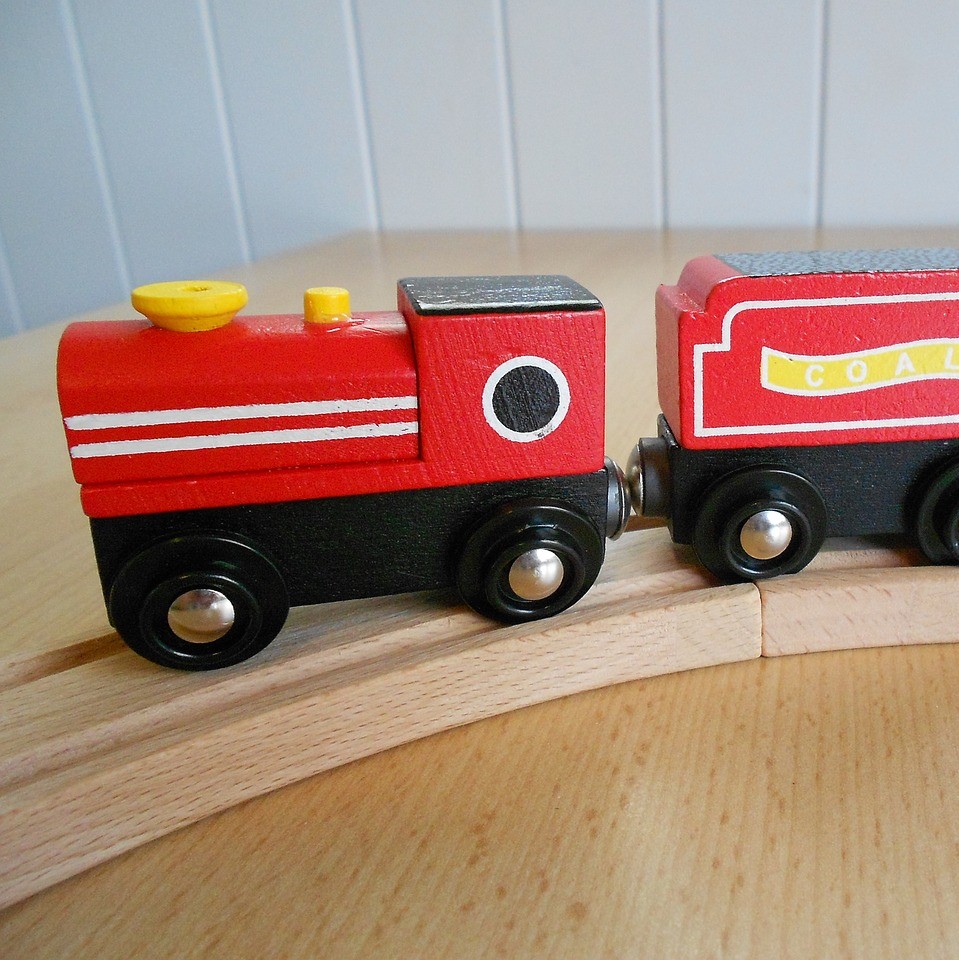
Wooden toy train (spowell, Pixabay)

Wooden toy train (spowell, Pixabay)
How does this align with my curriculum?
| Grade | Course | Topic |
|---|
Students will work collaboratively to design and build a toy that is moved using forces applied by magnets.
Overview
Students apply their knowledge about magnetic force and their Design & Build skills to safely create and test a toy that moves using forces applied by magnets.
Timing
45-60 minutes
Setting the Stage
Prior Skills and Knowledge
To participate in this Design & Build, students should be able to safely use:
- basic cutting tools (e.g., scissors),
- fasteners (e.g., tape, glue)
- materials (e.g., yarn, paper, recycled cardboard boxes)
Students should also have some experience with conducting a fair test and working as a collaborative group.
It is also highly recommended that students conduct the Magnificent Magnets lesson prior to participating in this Design & Build.
Context
Toys come in many different shapes and sizes, but they have one thing in common – they are fun to play with! Some toys are fun to play with because of their ability to move. These types of toys are designed to move by throwing, rolling, pushing or pulling – in other words, by having a force applied to them.
This Design & Build challenge provides opportunities for students to apply their knowledge about magnetic force and their Design & Build skills to safely create and test a toy that is moved using forces applied by magnets.
- observing a collection of toys that move.Discuss using questions such as:
- “What do all of these things have in common?”
- “How would you play with this toy?”
- “What makes this toy fun for you?”
- “Would everyone find this toy fun? Why or why not?”
- “Where do these toys get the energy to move?”
- “What would be some of the advantages/disadvantages of playing with this type of toy?” (e.g., use of batteries)
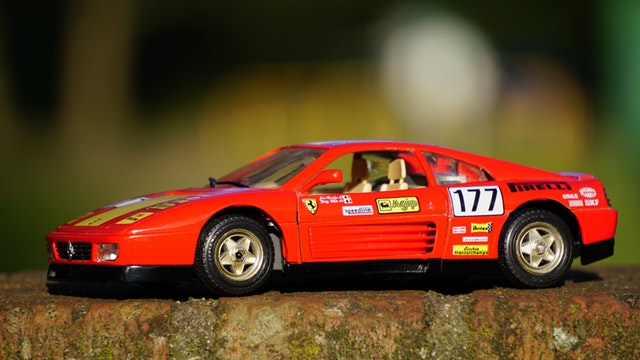
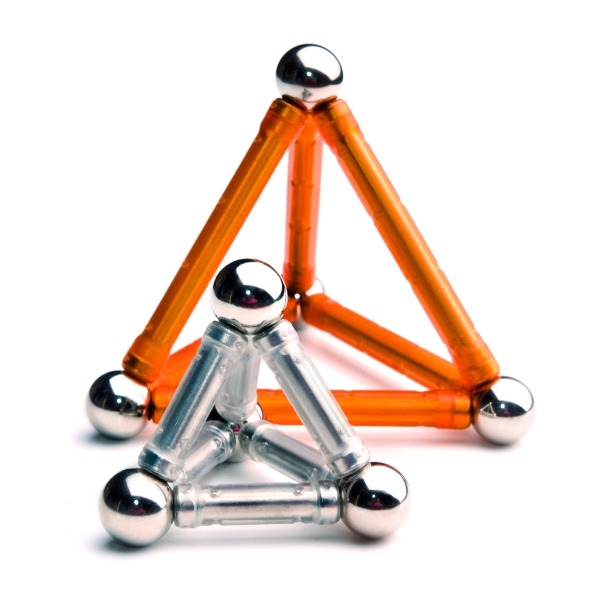
- looking at examples of objects that use magnets, such as fridge magnets, paper clip holders, toy trains, etc. Discuss using questions such as:
- “What do all of these things have in common?”
- “What is the function of the magnet in this object?”
- “Where else have you seen magnets used to do similar jobs?” (e.g., magnetic key holders, magnets used at auto wrecker)
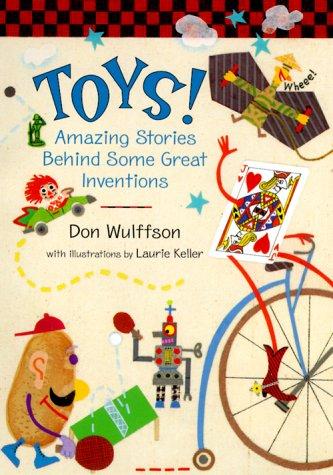
- reading a book such as Toys! Amazing Stories Behind Some Great Inventions by Don Wulffson. Discuss using questions such as:
- “If you were going to invent a toy, why might you want to incorporate a magnet into it?”
Design Criteria
As a class, students brainstorm criteria that their prototype toys must meet. Educators may choose to add other criteria that are curriculum-specific, such as using specific types or number of joiners/fasteners, measuring, using specific materials, etc.
Design criteria examples:
- Must be able to move (roll, slide, etc.)
- Must be pushed or pulled using magnets
- Must include 3 different shapes
- Must include 3 joiners/fasteners
- Use minimum of $5 and maximum of $10 when purchasing materials
Details
- Cardboard boxes and tubes, various sizes
- cash register, toy (optional)
- craft sticks
- cups, assorted, small (e.g., paper, Styrofoam)
- elastic bands, various sizes
- magnets (ring, bar, magnetic building blocks)
- paper (construction, cardstock, etc.)
- paper clips
- pipe cleaners
- play money
- scissors (1 per student group)
- straws, drinking
- tape, masking
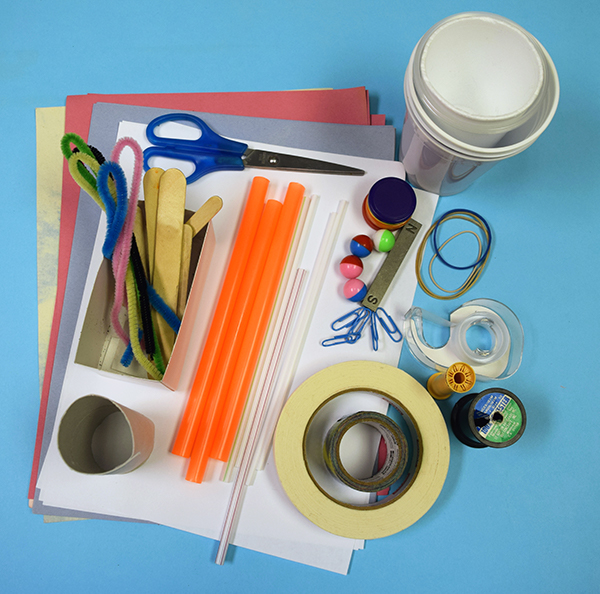
- Collect an assortment of recycled and new materials that students will use to construct the prototype toys. The materials list above is only a suggested list.
- Determine the required quantities of materials for each working group and organize the materials.
- Option: Provide students with a set amount of play money and set up a ‘store’ area where students can ‘buy’ their materials. This could be included in the design criteria (e.g., you must spend a minimum of $5 and a maximum of $10).
Students develop and apply Design & Build skills as they design, build and test a prototype toy that moves using magnets.
Students will follow the steps of the Design & Build process:
- identify the problem to be solved/need to be met
- brainstorm criteria that the prototype must meet
- share their questions and ideas for a solution to the problem/need
- discuss the advantages and disadvantages of each in order to select a potential solution to be tested
- visualize what the solution might look like and make design sketches based on their visualizations
- develop a design plan (e.g., identify the tasks or key steps involved in developing the solution, make decisions about tools and materials that will be needed, including labelled sketches)
- build/develop the design idea based on their sketches and design plan
- test their prototypes based on the design criteria
- modify the prototype and retest it against the design criteria as necessary
- reflect on their results and identify things that could be done to improve their prototypes
Observe and document, using anecdotal comments, photos and/or video recordings, students’ ability to:
- Work Collaboratively – students work collaboratively to complete a task and evaluate their group processes throughout the Design & Build process
- Generate Ideas – students use idea generation skills and strategies, such as brainstorming, to identify possible solutions as well as make decisions about the pros and cons of each solution
- Communicate – students communicate their thinking and learning in words, sketches, photos, videos, etc. (e.g., in identifying the problem, in design plans that include 2D design sketches and key design steps/tasks, in lists of materials/equipment/tools)
- Work Safely – students demonstrate safe practices when using a variety of tools and materials while prototyping
- Test – students use skills of observing and recording data as they test their prototypes
- Reflect – students reflect on the results of their prototype testing and suggest things that they might do differently to improve their prototypes
| Students: Saying, Doing, Representing |
Educator: Interactions: Responding, Challenging |
|---|---|
| Students identify and refine the problem to be solved/need to be met. |
|
| Students brainstorm and record criteria for the toy. |
|
| Students visualize what the solution might look like and make design sketches based on their visualizations. |
|
| Students develop a design plan (e.g., steps in creating a prototype, decisions about tools and materials). |
|
| Students build/develop and test the design idea based on their sketches and design plan (create the prototype). |
|
| Students modify the prototype and retest it against the design criteria as necessary. |
|
| Students reflect on the results of their testing and identify things that could be done differently in the future. |
|
Literacy
- Ask questions (e.g., “What is fun about your toy?” “Why do you think people play with toys?” “Is it only children that play with toys?” “Where do we use magnets at home and at school?”)
- Communicate thoughts, feelings and ideas (e.g., while brainstorming criteria for a toy, in design plans that include 2D design sketches, in an outline of key design steps/tasks and lists of required materials and equipment/tools)
- Work collaboratively to come up with solutions (e.g., how to construct a toy that is powered by magnets)
Mathematical Thinking
- Recognize and use 2D and 3D shapes to make the toys (e.g., use a triangle for a sail on their boat)
- Represent using pictures, diagrams, graphs, tables, numbers, words, and/or symbols (e.g., sketch their visualization of how their toy might meet the established criteria; use tables to record tests and redesigns of their toy)
- Measure and record length (e.g., the distance that the toy can move)
- Add and subtract money amounts (e.g., tally the cost of materials to build the toy)
Visual Arts
- Discuss visual design elements (e.g., how to include colour, shape, texture, form in the design of their toy)
- Communicate for different audiences and different purposes through the arts (e.g., discuss appealing to a specific audience with their toy design)
If your students are interested in learning more, the following may provoke their curiosity:
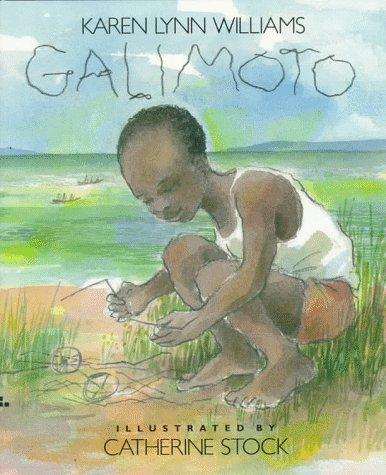
- Read the book Galimoto by Karen Lynn Williams. Discuss using questions such as:
- “What is the galimoto made of?”
- “How does the galimoto move?”
- “How does your experience with designing and building a toy compare to the boy’s experience designing and building a toy?”
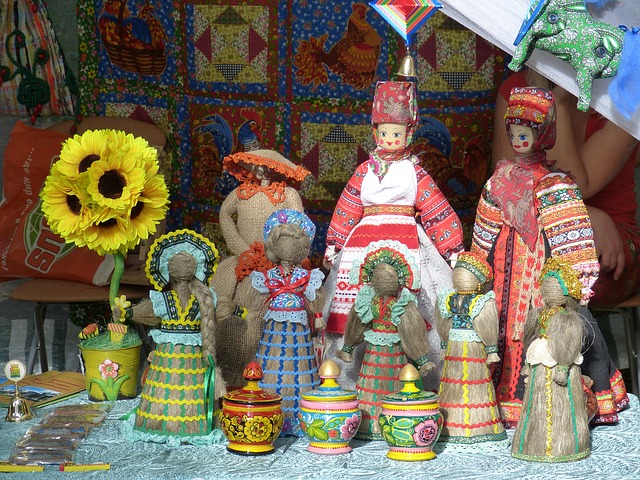
- Explore traditional toys played with by children in other parts of the world. Discuss using questions such as:
- “How are these toys like the toys you play with? How are they different? How do they move? Why do you think this is?”
- “What materials are the toys made of? Why do you think these materials were used?”
- Do any of the toys make use of magnets like the toys you designed and built? Why do you think this is?”
- Provide opportunities for students to design and build toys with other means of movement (battery-powered, gravity, springs, wind-up, etc.). For example, students might create their own jack-in-the-box toys using springs made out of paper and recycled cardboard boxes or fasteners explored in the Finding Out About Fasteners Lesson.
Toys! Amazing Stories Behind Some Great Inventions
by Don Wulffson
Learn about how some famous toys were invented.
ISBN: 9780805061963

Galimoto
By Karen Lynn Williams
Walking through his village, a young African boy finds the materials to make a special toy.
ISBN: 9780688109912
Magnificent Magnets (Lessons)
Students develop and apply the skills of sorting & classifying, comparing & contrasting and predicting as they explore magnetism as a non-contact force that causes movement.
What do magnets do? (Hands-on Activities)
Have fun discovering what magnets can pick up in this hands on activity.
Materials
- Cardboard boxes and tubes, various sizes
- cash register, toy (optional)
- craft sticks
- cups, assorted, small (e.g., paper, Styrofoam)
- elastic bands, various sizes
- magnets (ring, bar, magnetic building blocks)
- paper (construction, cardstock, etc.)
- paper clips
- pipe cleaners
- play money
- scissors (1 per student group)
- straws, drinking
- tape, masking

Preparation
- Collect an assortment of recycled and new materials that students will use to construct the prototype toys. The materials list above is only a suggested list.
- Determine the required quantities of materials for each working group and organize the materials.
- Option: Provide students with a set amount of play money and set up a ‘store’ area where students can ‘buy’ their materials. This could be included in the design criteria (e.g., you must spend a minimum of $5 and a maximum of $10).
What to Do
Students develop and apply Design & Build skills as they design, build and test a prototype toy that moves using magnets.
Students will follow the steps of the Design & Build process:
- identify the problem to be solved/need to be met
- brainstorm criteria that the prototype must meet
- share their questions and ideas for a solution to the problem/need
- discuss the advantages and disadvantages of each in order to select a potential solution to be tested
- visualize what the solution might look like and make design sketches based on their visualizations
- develop a design plan (e.g., identify the tasks or key steps involved in developing the solution, make decisions about tools and materials that will be needed, including labelled sketches)
- build/develop the design idea based on their sketches and design plan
- test their prototypes based on the design criteria
- modify the prototype and retest it against the design criteria as necessary
- reflect on their results and identify things that could be done to improve their prototypes
Assessment
Observe and document, using anecdotal comments, photos and/or video recordings, students’ ability to:
- Work Collaboratively – students work collaboratively to complete a task and evaluate their group processes throughout the Design & Build process
- Generate Ideas – students use idea generation skills and strategies, such as brainstorming, to identify possible solutions as well as make decisions about the pros and cons of each solution
- Communicate – students communicate their thinking and learning in words, sketches, photos, videos, etc. (e.g., in identifying the problem, in design plans that include 2D design sketches and key design steps/tasks, in lists of materials/equipment/tools)
- Work Safely – students demonstrate safe practices when using a variety of tools and materials while prototyping
- Test – students use skills of observing and recording data as they test their prototypes
- Reflect – students reflect on the results of their prototype testing and suggest things that they might do differently to improve their prototypes
Co-constructed Learning
| Students: Saying, Doing, Representing |
Educator: Interactions: Responding, Challenging |
|---|---|
| Students identify and refine the problem to be solved/need to be met. |
|
| Students brainstorm and record criteria for the toy. |
|
| Students visualize what the solution might look like and make design sketches based on their visualizations. |
|
| Students develop a design plan (e.g., steps in creating a prototype, decisions about tools and materials). |
|
| Students build/develop and test the design idea based on their sketches and design plan (create the prototype). |
|
| Students modify the prototype and retest it against the design criteria as necessary. |
|
| Students reflect on the results of their testing and identify things that could be done differently in the future. |
|
Cross-curricular Connections
Literacy
- Ask questions (e.g., “What is fun about your toy?” “Why do you think people play with toys?” “Is it only children that play with toys?” “Where do we use magnets at home and at school?”)
- Communicate thoughts, feelings and ideas (e.g., while brainstorming criteria for a toy, in design plans that include 2D design sketches, in an outline of key design steps/tasks and lists of required materials and equipment/tools)
- Work collaboratively to come up with solutions (e.g., how to construct a toy that is powered by magnets)
Mathematical Thinking
- Recognize and use 2D and 3D shapes to make the toys (e.g., use a triangle for a sail on their boat)
- Represent using pictures, diagrams, graphs, tables, numbers, words, and/or symbols (e.g., sketch their visualization of how their toy might meet the established criteria; use tables to record tests and redesigns of their toy)
- Measure and record length (e.g., the distance that the toy can move)
- Add and subtract money amounts (e.g., tally the cost of materials to build the toy)
Visual Arts
- Discuss visual design elements (e.g., how to include colour, shape, texture, form in the design of their toy)
- Communicate for different audiences and different purposes through the arts (e.g., discuss appealing to a specific audience with their toy design)
Extending the Learning
If your students are interested in learning more, the following may provoke their curiosity:
- Read the book Galimoto by Karen Lynn Williams. Discuss using questions such as:
- “What is the galimoto made of?”
- “How does the galimoto move?”
- “How does your experience with designing and building a toy compare to the boy’s experience designing and building a toy?”

- Explore traditional toys played with by children in other parts of the world. Discuss using questions such as:
- “How are these toys like the toys you play with? How are they different? How do they move? Why do you think this is?”
- “What materials are the toys made of? Why do you think these materials were used?”
- Do any of the toys make use of magnets like the toys you designed and built? Why do you think this is?”

- Provide opportunities for students to design and build toys with other means of movement (battery-powered, gravity, springs, wind-up, etc.). For example, students might create their own jack-in-the-box toys using springs made out of paper and recycled cardboard boxes or fasteners explored in the Finding Out About Fasteners Lesson.
Supporting Media

Toys! Amazing Stories Behind Some Great Inventions
by Don Wulffson
Learn about how some famous toys were invented.
ISBN: 9780805061963

Galimoto
By Karen Lynn Williams
Walking through his village, a young African boy finds the materials to make a special toy.
ISBN: 9780688109912
Magnificent Magnets (Lessons)
Students develop and apply the skills of sorting & classifying, comparing & contrasting and predicting as they explore magnetism as a non-contact force that causes movement.
Learn More
What do magnets do? (Hands-on Activities)
Have fun discovering what magnets can pick up in this hands on activity.