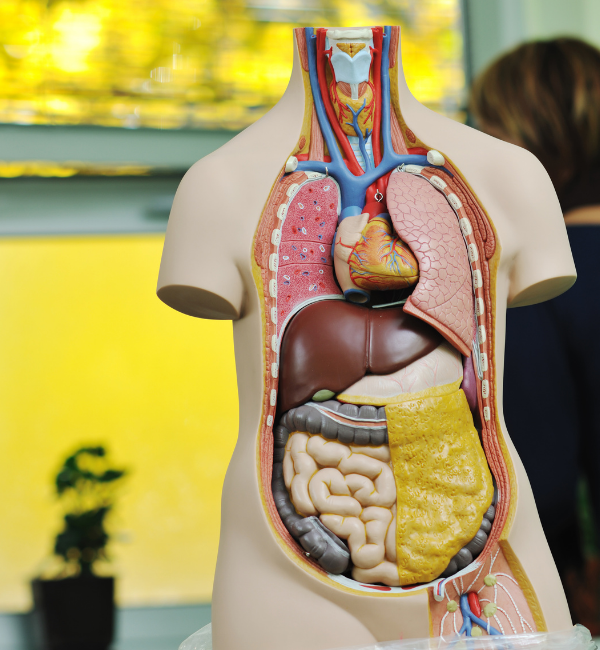
Skeletal System
Main Image
Main Image
Created by
University of Ottawa and Carleton University
Activity Language
Grade
Time Needed for Activity
Subjects
Learn about the skeletal system and how it applies to movement and our bones.
This activity is a virtual version of one of the activities from the Bone Zone kit developed by the Let's Talk Science National Office.
What You Need
Materials if being dropped off to the school:
- 14 1-1.5 cm paper or plastic straws per student (for phalanges)
- 5 piece of paper or plastic straws, 1/3 of a straw long per student (for metacarpals)
- 1 roll of tape per student (the class may already have tape)
- 5 pieces of string of any color that is 8 inches long, per student
- Sample of the model hand that is already prepared.
- Hand templates printed on cardstock (1 per student)
- PowerPoint with photos
Materials if they are NOT being dropped off at the school:
- 14 1-1.5 cm paper or plastic straws per student (for phalanges)
- 5 piece of paper or plastic straws, 1/3 of a straw long per student (for metacarpals)
- 5 pieces of string, twine, yard about 8 inches
- Piece of paper - cardstock is good but any paper will work
- PowerPoint presentation with photos
Instructions:
PowerPoint:
Safety Notes
As a Let’s Talk Science volunteer, safety must be foremost in our minds during all activities.
As STEM role models, volunteers must always also model safe science practices. Always keep in mind the following precautions:
- Emphasize and demonstrate appropriate safety procedures throughout the presentation.
- Be professional but have fun.
- Keep workspaces clean to avoid tripping hazards.
- Allergens should have been checked before reserving the kit (e.g. allergies to latex).
What To Do
- Have students cut out the hand template (or trace their hand and cut it out).
- Have the educator distribute the metacarpals and phalanges for students. Each student will need 14 shorter pieces and 5 longer pieces of straw.
- Each student will tape 3 short pieces of straw on each finger and 2 short pieces of straw onto the thumb. These are the phalanges.
- Each student should then tape the 5 long pieces of straw onto the palm of the hand, one for each finger. These are the metacarpals.
- While students are taping on their phalanges and metacarpals, have the educator distribute 5 pieces of string to each student.
- Have students put a knot at the end of each string or tape it down to the end of the finger and thread it through each of the phalanges and metacarpals. This is the most difficult part of the activity and may require some more time.
- Give the students some time to test out their model hand.