Which Fastener is Best?
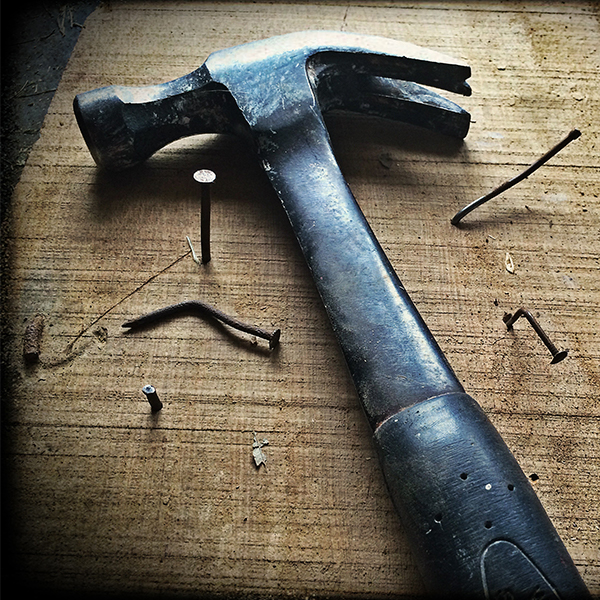
Hammer and nails (Andy Gries, Pixabay)

Hammer and nails (Andy Gries, Pixabay)
How does this align with my curriculum?
Students will learn about the different types of fasteners to investigate which fastener is best for a particular material or job and why.
Overview
Activities | Timing | Student Grouping | Description |
---|---|---|---|
Minds-On: Exploring Materials | 15-20 minutes | Large group | Students learn about the properties of materials. |
Action: Which Fastener is Best? | 45-50 minutes | Independent or Small group | Students explore different fasteners and decide which one is best according to material. |
Consolidation: Show and Share | 15-20 minutes | Large group | Students participate in a Show and Share of the object they have made. |
This lesson can be done over a few days.
Materials and Preparation
Teaching and Learning Activities
This icon indicates potential assessment opportunities.
Minds-On: Exploring Materials (15-20 min.)
Instructions | Teaching Tips |
---|---|
Show students this video that explores different materials and their properties. After the video, bring students outside to walk around the community, school building or school yard to look at some of the different materials used around them. Encourage students to identify objects and the materials the objects are made from (e.g., bricks made from clay, windows made from glass, sidewalk made of concrete). |
LanguageCreate a word and/or photo wall of terminology that students will encounter over the course of this lesson such as, property, hard, soft, flexible, etc. SafetyIf a walk is not possible, pull up different images on an internet search engine of different objects (eg., chair, door, window, mirrors, etc.) found on school property and encourage students to identify the materials. |
Action: Which Fastener is Best? (45-50 min.)
Instructions | Teaching Tips |
---|---|
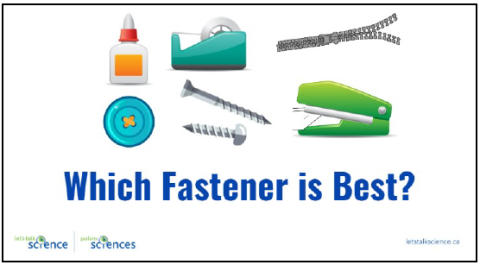
Show students the slideshow Which Fastener is Best? [Google slides] [pptx] [PDF].
|
DiscussionsRefer to the speaker's notes for guided discussion regarding when you use one fastener versus another one. IdeaYou could have manipulatives to pass around while you present the slideshow. This would allow students to discover the objects physically as you talked about their purpose. |
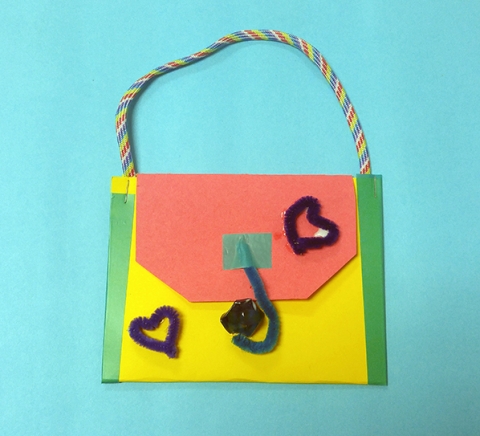
Co-construct the criteria for this simplified engineering design activity. As a class, make a decision about what useful object they want to create. The whole class will make the same objects to make acquiring materials and instruction easiest. Some examples of objects that students could make are a lunch bag, or a small carrying pouch. Recommendation: to successfully complete this small design project while ensuring students understand the role of fasteners, it is suggested that students must use at least two different fasteners to create their object. |
IdeaShow students real examples of the object or photos so that they can see what elements each object requires to be functional (e.g., a purse needs a handle and it needs to open so you can put something inside, etc.). DiscussionsAsk clarifying/ probing questions that provoke further discussion about the object’s purpose, the appropriateness of the materials for the intended purpose, and the fasteners being used in relation to the materials used and purpose of the object. |
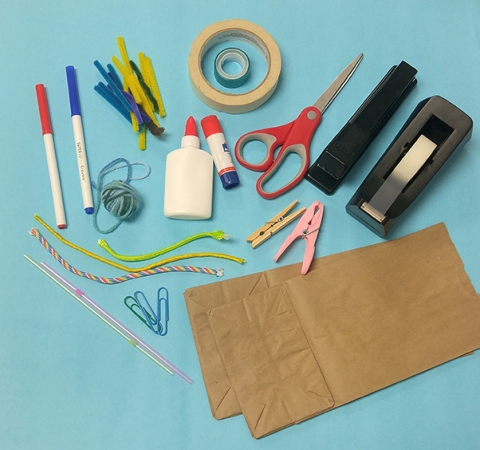
Students will determine the materials that are best suited to create the useful object from those that are available to them (e.g., paper and tape, string). Students will also determine what kind of fastener(s) will be best to use based on the materials they have chosen (paper can be attached together with tape or glue, string can be attached to paper using tape or staples, etc.). |
IdeaEncourage students to try different options if a fastener does not work. IdeaTo further scaffold this activity you could have students make their object using the Design and Build process. |
Consolidation: Show and Share (15-20 min.)
Instructions | Teaching Tips |
---|---|
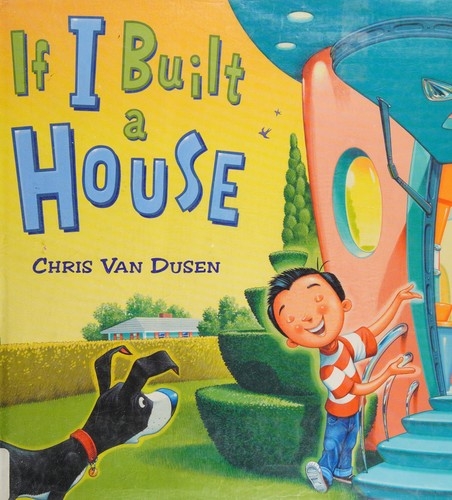
Have students sit in a circle and take turns sharing the object they made. Have them point to the parts of their objects where they used fasteners and encourage them to share why they chose to use the given fasteners. Ask students to share one thing they learned while doing this activity, Alternatively or in addition to the Show and Share, have students watch the read aloud version of the book If I Built a House by Chris Van Dusen. Or you could read the book if you have a copy of it available to you. |
IdeaIf students prefer not to share in front of their peers verbally, encourage them to hold their work up or share one-on-one at a later time. Images and VideosAsk students if they would like to hear/see the video more than once. |
Background Information for Teachers
Innovations in Fasteners
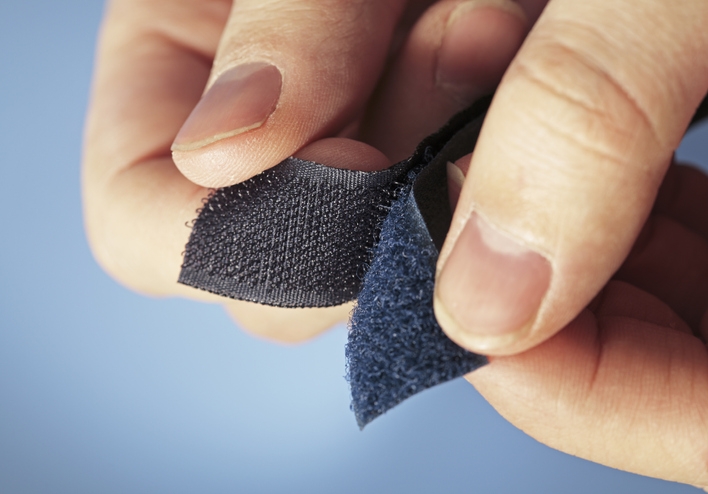
The VELCRO® brand of hook and loop was invented by a man named George de Mestral in the 1940's while hunting in the Jura mountains in Switzerland.
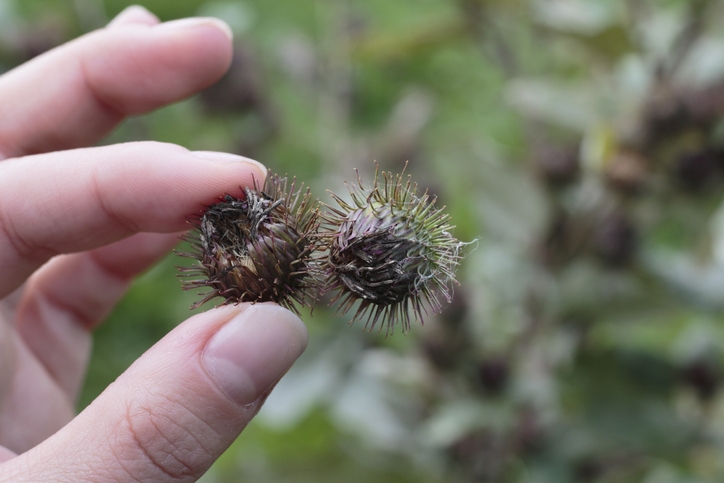
Tiny burdock burs were sticking to his clothing and his dog with tiny little hooks. Under the microscope he inspected how this worked and was inspired by the design!
Image - Text Version
Shown is a colour photograph of a hand holding two spiky spheres, stuck together.
The hand reaches in from the left edge of the image. The person is grasping one dry, brown, spiky sphere between their thumb and forefinger. Another sphere is fastened to the first. Their spikes are interlocked, so the second one is suspended in mid-air.
Image - Text Version
Shown is a colour photograph of two hands pulling pieces of fastened velcro apart.
The hands are reaching in from the top right. The person is grasping one end of each strip between their thumb and forefinger. As the strips are pulled apart, their inside surfaces are visible. The top strip has tiny loops of thin blue plastic. The bottom strip has a thick, fuzzy texture.
Image - Text Version
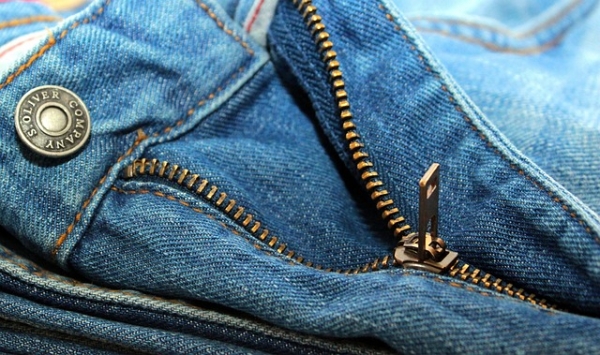
Shown is a colour photograph of a half open zipper on blue jeans.
The camera is close to the faded blue jeans. The dark gold coloured button at the top of the fly is open. Below, the sides of one end of the zipper are spread apart. The zipper pull is part way down. The reddish gold metal teeth on each side are visible. They are apart above the pull, and fastened together below it.