Storytime - Microscope Fun
Read "Greg's Microscope" and learn about microscopes by building your own.
This workshop consists of two parts: a reading of "Greg's Microscope" by Millicent E. Selsam followed by building your very own microscope!
This virtual outreach activity is split into a pre-activity document - i.e., workshop overview and list of materials with preparation instructions for both the volunteer and educator and a PowerPoint presentation with presenter notes to help lead the workshop virtually.
What You Need
For the reading:
- "Greg's Microscope" By Millicent E. Selsam - book cover, for reference.
For the activity:
- magazines for height adjustment
- tape
- hairpin
- laser pointer lens
- light source
- smartphone or tablet with camera
- water or food coloring/ stain diluted at a ratio of 1:10
- onion skin/ peel, sugar, salt
For backlit specimens, you will also need:
- stack of books ~7cm tall
- slide or piece of plexiglass
PowerPoint:
Pre-Activity Document:
Safety Notes
Ensure you are familiar with Let's Talk Science's precautions with respect to safe delivery of virtual outreach to youth. These precautions can be found in the manual for this activity.
What To Do
Part A: Reading of "Greg's Microscope" By Millicent E. Selsam
Part B: Doing the Activity
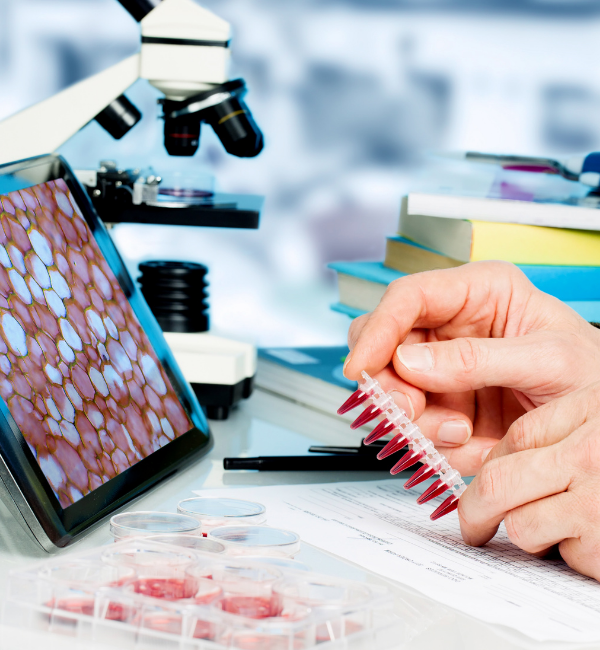
- Set up the microscope - you can have the students do this themselves: hold the lens between the two prongs of a bobby pin. Tape the bobby pin to the phone/tablet so that the lens sits directly in front of the camera. Test whether the setup works by holding the camera ~1 cm from a coin or a piece of paper with text on it. Point your light at the item you are attempting to look at. Move the phone/tablet up and down slowly, and it should come into focus. If not, try flipping the lens around - it may or may not be symmetrical.
- Set a textbook or stack of books at least 7 cm high (hardcover is best) on a table. Set your slide on top of the book so that ~2.5 cm hangs off of the edge. Place a ~1 cm stack of small books/magazines on top of the slide, and set the phone/tablet with the laser pointer lens on top of this so that the camera is directly above the slide. Place your light source directly below the slide, or you can also point it at your specimen from the side depending on the type of lighting you're going for. You may need to adjust the height of the camera with respect to the slide to get your specimen in focus by adding extra layers of paper.
- Onion skin is a good first sample to look at since it's easy to see individual cells and the students can see how the microscope works before going to collect their own samples. Peel off the thin membrane that separates the layers - you will not be able to see individual cells with a thicker section. Place a piece on your slide and add a small drop of water or food colouring/ stain. You should be able to see fairly well using no stain, but adding a bit of food coloring diluted with water 1:10 or so can help to differentiate the cell walls a bit more clearly. You will be able to see individual cells under the microscope, and if you zoom in you can sometimes make out the nucleus as well. Moving the light around will change how well you can see the cells.
- Once the students know how to use the microscope, you can ask them to find other samples to look at.
Discovery
The lens bends the light coming from the specimen so that the image is magnified when it enters the camera. This way you can see a lot more detail than with the camera or your eyes alone! There are a lot of really cool things that are too small for us to see without a microscope, so this lets us see them!
For older students you might talk more about how light is a wave, the physics behind how a lens works, etc.
What's Happening?
The lens bends the light coming from the specimen so that the image is magnified when it enters the camera. This way you can see a lot more detail than with the camera or your eyes alone! There are a lot of really cool things that are too small for us to see without a microscope, so this lets us see them!
For older students you might talk more about how light is a wave, the physics behind how a lens works, etc.